
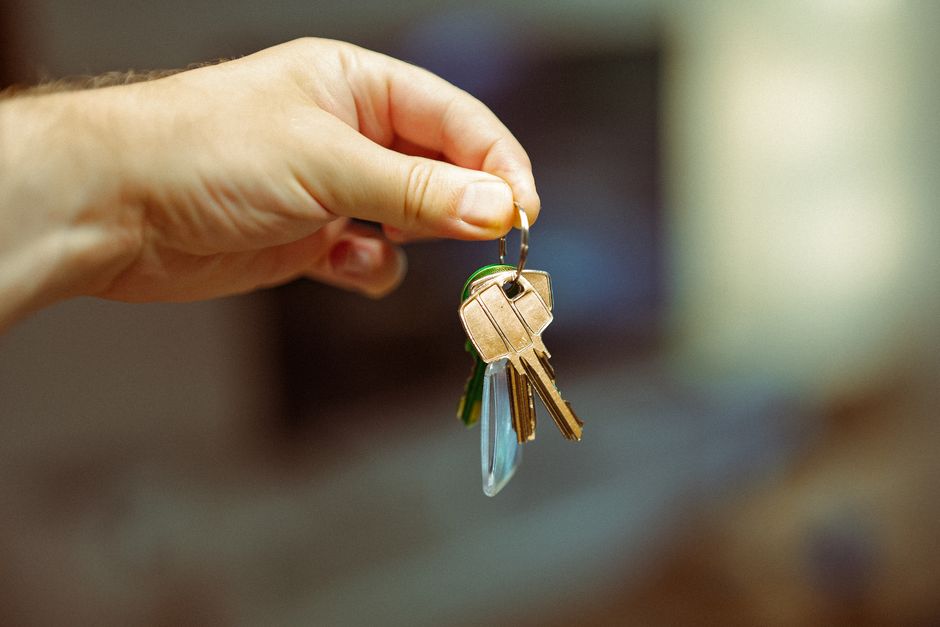
Your first week in a Montreal apartment should follow a simple order: secure essential services, update your address, organize your documents, then learn one reliable STM route with an OPUS card. Start with electricity on key day, since an active lease does not automatically put the Hydro-Québec account in your name.
Day 1: Confirm what your lease actually includes
Before opening accounts, check the utilities section of your lease. Montreal rentals vary: some include heating and hot water, while others leave electricity, gas, or both to the tenant.
Write down who handles each service:
- Confirm whether electricity is included or must be transferred through Hydro-Québec.
- Check whether the apartment uses natural gas and, if so, whether you need an Énergir account.
- Ask the landlord which internet providers already serve the building.
- Confirm where to find the electrical panel, water shutoff, recycling area, and waste collection point.
- Photograph the apartment’s condition and any meter readings before unpacking.
Ask how the building is heated. Electric baseboards can make winter electricity use much higher than summer use, so previous consumption estimates are useful when planning your monthly budget.
Report existing damage in writing. Keep the message, photos, and date together. Small details such as a cracked tile or stained countertop are much easier to explain now than when you move out.
Day 1 or 2: Put essential services in your name
Set up electricity first if it is your responsibility. You will usually need the full address, apartment number, move-in date, and identification. Keep the confirmation number or account email.
Next, arrange internet installation. Ask about the total monthly price, installation charge, equipment rental, contract length, cancellation terms, and the price after any introductory offer ends. A cheap first bill can hide a more expensive month seven.
Consider tenant insurance even when the landlord does not require it. The building owner’s policy generally protects the building, not your laptop, bicycle, clothing, or liability inside the apartment. Compare the deductible and coverage before choosing the lowest premium.
Your first utility folder should contain:
- Your signed lease and any building rules.
- Utility account confirmations.
- Internet installation details.
- Tenant insurance documents.
- Move-in photos and written damage reports.
- Receipts for deposits or approved fees.
Save digital copies somewhere you can reach without your home internet connection.
Day 2: Update your address in the right order
Changing one address does not update every organization. Make a list and mark each change complete.
Start with services that affect money, identity, or legal correspondence: your bank, credit card provider, employer or school, insurer, mobile provider, and any immigration representative working on an active file. Then review the address attached to relevant federal and Quebec government records.
Your exact government checklist depends on your status. A student, temporary worker, permanent resident, and Canadian citizen may have different records to update. Use official instructions for each document rather than assuming that one government change covers the rest.
Arrange Canada Post mail forwarding if important letters could still reach your previous address. Forwarding gives you breathing room, but it should support direct address changes rather than replace them.
Keep proof of the new address. A signed lease, utility statement, bank statement, or insurance document may be useful later, although each organization sets its own acceptable-document rules.
Day 3: Build one essential-document file
Create two versions of your relocation file: one encrypted digital folder and one slim paper folder for appointments.
Include your passport identity page, immigration or status document, lease, insurance details, school enrolment letter or employment documents, and recent proof of address. Add health coverage records and any appointment confirmations relevant to your situation.
Check four details across every document:
- Your name and surname appear consistently.
- Dates of birth and document numbers match.
- Your Montreal address includes the correct apartment number and postal code.
- Expiry dates are recorded in a calendar with reminders well before the deadline.
Never carry every original document around the city. Take only what a specific appointment requires. A missing or mismatched copy can create an avoidable return trip, as this guide to the missing copy Mateo needed illustrates.
Day 4: Make the OPUS card your first local milestone
Buy a regular OPUS card from an STM point of sale, such as a métro station service point or fare vending machine where available. Load the fare that fits your expected travel, then keep the purchase receipt until you know the card works.
Do not choose a monthly pass automatically. A short-term fare may cost less if you work from home, live near campus, or expect to walk during your first week. Check current STM fare zones and conditions before loading the card, especially if your regular trip crosses beyond Montréal.
Reduced fares have separate eligibility and photo-card requirements. Bring the required proof if you qualify, rather than expecting a standard OPUS card to apply the discount.
Plan one practice trip before an important appointment. Choose a nearby destination such as your grocery store, campus, workplace, pharmacy, or Service Canada location. Learn these four actions:
- Find the nearest bus stop and métro entrance.
- Check the direction using the line’s terminal station.
- Tap your OPUS card correctly when entering.
- Identify one alternative route in case of a delay.
On buses, enter at the front unless STM instructions at the stop say otherwise. In the métro, follow the terminal-station name for your direction, then count the stops. Save a screenshot of the route in case mobile service drops underground.
Days 5 to 7: Test the apartment and close the gaps
Use the rest of the week to notice what key day concealed. Test smoke alarms, locks, outlets, heating controls, appliances, and hot water. Ask the landlord how urgent maintenance should be reported and which number to use outside office hours.
Walk the block and locate a pharmacy, grocery store, clinic option, laundromat if needed, and the correct waste collection area. Check local signs before leaving a car on the street; parking restrictions can change by location and season.
Then open your checklist and assign a date to anything unfinished. Your concrete next step today is small: confirm who pays for electricity, put your lease and passport copy in one secure folder, and plan a single OPUS trip from your new front door.


