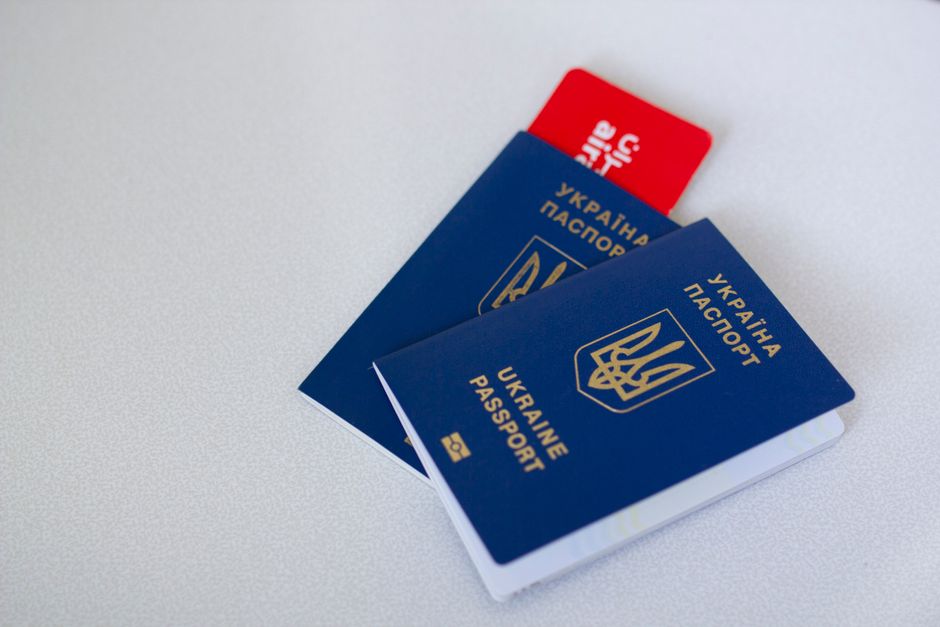
Check your UK Visas and Immigration account before travelling so you can confirm that your eVisa is linked to the correct identity document and that you understand the official instructions that apply to your case. Keep any unanswered questions separate from your confirmed information, then resolve them through the responsible UK authority before you travel.
Why the account check belongs on your pre-travel list
A UK eVisa is part of the UK’s move toward digital immigration records. That makes your online account an important part of your travel preparation. Your physical documents still matter, but your travel plan also needs to account for the digital record connected to your immigration status.
The useful question before departure is simple: can you access your account, identify the document connected to it, and explain what you still need to verify?
That check gives you time to spot a problem while you are still at home. If you wait until the airport, you may have fewer options, less time, and more pressure. A short account review can also show you which questions require an official answer rather than a guess from a forum, social media post, or relocation group.
The UK government has published updates about the move to eVisas. Read the current guidance before acting, because the digital immigration process can change and the correct steps depend on your circumstances.
Start with the official instructions
Open the GOV.UK guidance about the move to eVisas and read the sections relevant to your situation:
Use this page as your starting point for the account check. Do not build your preparation around an old screenshot, a message from another traveller, or advice written for a different type of UK immigration status.
As you read, separate information into three groups:
- Instructions that clearly apply to you.
- Identity or account details that you have confirmed.
- Questions that remain unanswered.
This separation matters. A general instruction may explain the process, but it may not resolve a detail about your own account. Treating an assumption as a confirmed requirement can send you in the wrong direction. Writing down an unanswered question gives you a clear next task.
Create a simple note with three headings: “Confirmed,” “To check,” and “Official source.” Add the relevant GOV.UK page beside each instruction. If you later need help, this record will make your question easier to explain.
Confirm that you can access your account
Your first practical step is to confirm that you can access the account used for your UK immigration information.
Use the account details and sign-in method you normally use. Check that you can complete the sign-in process without relying on a device, email address, or phone number that will be unavailable during your journey.
This does not mean you should create duplicate accounts or change details without an official reason. It means you should identify the account you are expected to use and make sure you can reach it before departure.
Record the result in your move checklist:
- Account access confirmed.
- Account access needs attention.
- Unsure which account contains the relevant record.
If you cannot access the account, record the exact point where the process stops. For example, you may be unable to receive a message, unsure which email address was used, or uncertain whether you are looking at the correct account. Keep the wording precise. “Something is wrong” will be harder to act on than “I cannot complete the sign-in step because I no longer have access to the email address.”
Do not treat successful sign-in as proof that every detail is correct. Access is one check. The identity document and record connected to the account need their own review.
Check the identity document connected to your record
Review the identity document information shown in your account and compare it with the document you expect to use for travel.
Look carefully at the document type and identifying details. If you have more than one valid identity document, do not assume the account is connected to the one you plan to present. If you recently replaced a document, changed personal details, or have another reason to question the information shown, mark the point for official verification.
Your checklist can include:
- The identity document shown in the account.
- The identity document you plan to carry.
- Any difference between the two.
- The date you checked the information.
- The official question you need answered, if the details do not match.
Avoid copying sensitive document numbers into an unsecured note, shared chat, or public post. Your checklist only needs enough information to help you recognise which document you reviewed. Store private details in a secure place.
If the document shown in your account does not match the document you expect to use, pause before making assumptions about what happens next. The correct action may depend on your circumstances. Go back to the official GOV.UK guidance and use the responsible UK authority for an answer.
Documents to prepare
Prepare the documents that support your travel and immigration records, following the official instructions that apply to you. The exact documents will depend on your circumstances, so this section is about organising what you already need to carry or access, rather than creating a universal document list.
Keep a secure digital copy of relevant records where appropriate. Also decide which original documents or physical copies you need to carry. A digital copy can help you find information quickly, but it does not automatically replace an original document or an official requirement.
Your preparation folder may include:
- The identity document you plan to use for travel.
- Relevant immigration correspondence or official records.
- Evidence of your account review.
- The GOV.UK guidance you used.
- A short list of unanswered questions.
- Contact details or instructions for the responsible authority, saved from the official source.
Use clear filenames and keep the folder available offline if you may lose connectivity. For example, use a structure such as “UK travel,” “identity,” “immigration correspondence,” and “questions.” Avoid mixing confirmed instructions with screenshots or advice from unofficial sources.
Check that files open before you leave. If you use cloud storage, confirm that you can access it without a separate sign-in method that may fail when travelling. If you keep paper copies, protect them from damage and store them separately from your main device where practical.
A folder is useful only if you can find the right document quickly. Test it by opening the folder and locating the official guidance, the relevant account information, and your question list without searching through unrelated files.
Separate confirmed information from open questions
A calm account check does not require you to solve every possible issue at once. It requires you to know which parts are settled and which parts need an answer.
Create a table or note with three columns:
| Status | Item | Next action | |—|—|—| | Confirmed | The account can be accessed | Keep the check date in your move record | | Confirmed | The account shows the identity document you plan to use | Carry that document as planned | | To check | The document details do not match | Consult the official UK authority | | To check | You are unsure which instruction applies | Read the current GOV.UK guidance and seek clarification |
This structure prevents two common mistakes. The first is repeatedly rechecking information that is already clear. The second is forgetting a question because it was mixed into a long list of completed tasks.
Write questions in a way that describes your facts without adding a conclusion. “My account shows one identity document and I plan to travel with another. What should I do?” is clearer than “My eVisa is broken.” The official authority can respond more effectively when the situation is described precisely.
Do not rely on a third party to interpret a personal immigration record unless you understand what authority they have to advise you. A friend may have travelled with an eVisa, but their account history and documents may be different from yours.
Review the account before the travel date
Complete the check early enough to leave time for follow-up. The official guidance may tell you what to do, but an unresolved account or identity-document question can require additional attention.
Add the account review to your relocation timeline rather than treating it as a last-minute airport task. You can set a personal checkpoint before departure and then review the information again closer to travel if the official guidance indicates that you should.
At the first checkpoint, confirm:
- You know which account is relevant.
- You can access it.
- You know which identity document is connected to the record.
- You have identified any mismatch or uncertainty.
- You have saved the official source.
- You know how you will ask the responsible authority for clarification.
At the later checkpoint, look for changes in your own circumstances and in the official instructions. For example, your travel document may have changed, or you may have received new correspondence. Keep the review focused on facts. Do not create new concerns from unrelated rumours or general posts online.
If everything matches and no question remains, mark the task complete with the date. If something remains uncertain, mark it as open and record the next action. “Waiting for official clarification” is a useful status when it accurately describes what is happening.
What to do next
If your account and identity document details match, save the official guidance with your travel documents and keep your checklist available during the journey. Make sure you know where the relevant information is stored, including if you will be offline.
If the details do not match, or you cannot access the account, do not improvise a fix based on a general online answer. Return to the current GOV.UK guidance and follow the route it provides for your situation. Keep a record of the question, the date you checked, and any response you receive.
If you cannot tell whether an instruction applies to you, leave it in the “To check” column. Uncertainty is a task state, not a reason to guess. The goal of this checklist is to make the unknown visible early enough for you to ask the right authority.
You can also connect this UK eVisa task to the rest of your relocation preparation. Aqee is designed to help you turn separate moving tasks into a guided checklist, from documents and travel preparation to settling into a new city. For a broader document system, see Your Ultimate Pre-Move Document Checklist. If you are building an offline arrival folder as well, the Canada Pre-Arrival Checklist offers a useful example of organising information before departure.
Create an Aqee move checklist with one item for account access, one for identity-document matching, one for official-source review, and one for unanswered questions. Give each item a clear status and next action. That turns a vague pre-travel worry into four checks you can complete or escalate.
Source and update note
This preparation guide is based on the official UK government publication Updates on the move to eVisas. Immigration guidance can change, and this article does not provide legal advice. Check the current official source and contact the responsible UK authority for questions about your individual account, identity documents, or travel.
Related Aqee guide
Use this alongside a related Aqee guide when it fits your move plan.