
Navigating your new country’s visa process might seem like a maze of paperwork and unfamiliar rules, but it’s entirely manageable with the right approach. This guide will walk you through understanding common visa requirements and typical timelines, helping you tackle the application with confidence.
Understanding Visa Types and Who Needs Them
Before you even start gathering documents, the first step is to figure out which visa category applies to you. Countries offer different visas based on your reason for moving. For example, if you’re planning to study in the UK, you’ll need a Student visa. If you’re going to work in Germany, it’ll likely be a Work visa. Digital nomads often have specific visa categories opening up in places like Portugal or Spain. Each visa type has its own set of eligibility criteria, so confirming this early is crucial.
You’ll need to check the official immigration website of your destination country. These sites, while sometimes dense, are the most reliable source of information. Look for sections like “Visa categories,” “Eligibility requirements,” or “How to apply.” Pay close attention to sections outlining who is exempt from needing a visa altogether, though this is rare for long-term stays. For instance, some nationalities can enter certain countries visa-free for tourism, but this almost never extends to studying or working without a proper permit.
Essential Documents: What to Prepare
Once you know your visa type, you’ll get a detailed list of required documents. This is where clarity and organization really pay off. While specific documents vary greatly by country and visa, some items are almost universally requested.
Proof of Identity and Nationality
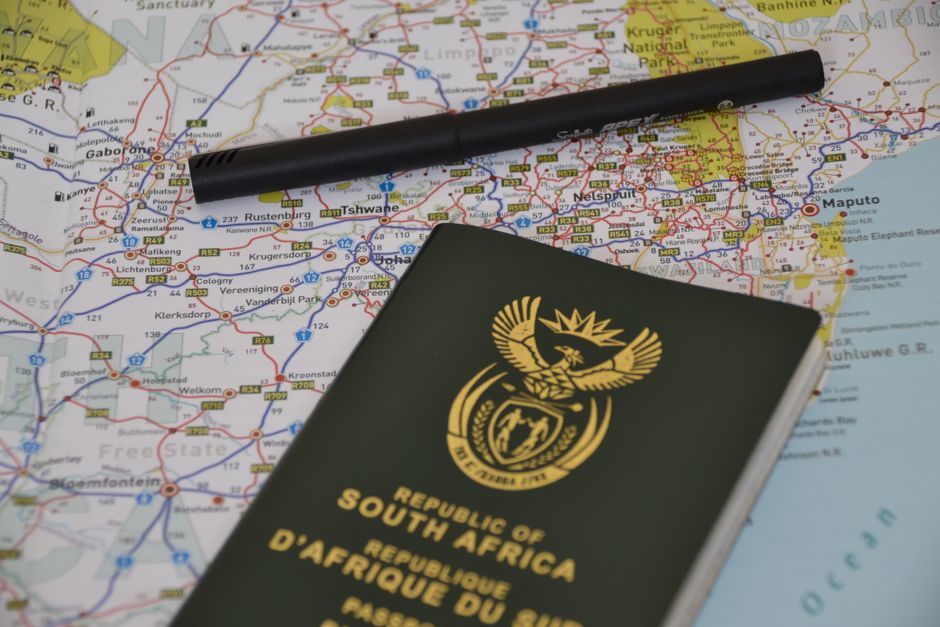
Your passport is your primary identification, and it must be valid for at least six months beyond your intended stay. You’ll also need passport-sized photos that meet specific dimensions and background color requirements. Don’t underestimate this; rules for photos are surprisingly strict.
Financial Stability
Most countries want to ensure you can support yourself without becoming a public burden. This usually means providing bank statements, scholarship letters, or proof of employment. They’ll look for sufficient funds to cover your living expenses for a specified period, often your first year. It’s smart to have a little more than the minimum requested amount.
Accommodation and Travel
You’ll typically need to show proof of accommodation, such as a lease agreement or a letter from a host, and a confirmed flight itinerary. While you might not have a long-term lease secured before arrival, evidence of temporary accommodation like a hotel booking for your first few weeks is usually sufficient. Remember, details matter, so double-check names and dates on all bookings.
Academic or Professional Background
If you’re applying for a student visa, expect to provide your acceptance letter from a recognized educational institution and academic transcripts. For work visas, you’ll need an employment contract, professional qualifications, and sometimes a letter from your employer sponsoring your visa.
The Application Process: Step by Step
The application process generally follows a few key steps:
- Gather Documents: This is the longest phase. Use a checklist to ensure nothing is missed. Consider digitizing all documents for easy access and backup.
- Complete the Application Form: Most countries now have online application portals. Fill out the form carefully and accurately. Any discrepancies can cause delays.
- Pay Fees: Visa application fees are non-refundable and vary widely. Be prepared for this cost, and remember there might be additional fees for things like biometric data collection or expedited processing. You might also want to budget for hidden costs of visa renewal later on.
- Book an Appointment: You’ll typically need to attend an in-person appointment at an embassy, consulate, or visa application center. Here, your biometrics (fingerprints and photo) will be taken, and you’ll submit your physical documents.
- Interview (If Required): Some visas, particularly those for longer stays or certain nationalities, might require a short interview. This is usually to clarify information in your application and assess your intentions.
- Wait for a Decision: Processing times can range from a few weeks to several months. Plan your move with these timelines in mind. Avoid making irreversible plans, like quitting your job or selling property, until your visa is approved.
Managing Timelines and Avoiding Delays
Applying too early can mean your visa expires before you arrive, but applying too late means you might not get it in time. Most countries advise applying 3-6 months before your intended travel date, but always check the specific guidance for your visa type and country. Holidays, peak seasons, and unforeseen global events can significantly impact processing times, so build in extra buffer time.
Triple-check every piece of information. A misspelled name, an expired passport copy, or an uncertified document can lead to rejection or significant delays. When in doubt, always refer to the official government website or, if possible, seek advice from a qualified immigration consultant. Staying organized and informed will make this crucial first step of your international journey much smoother.


