
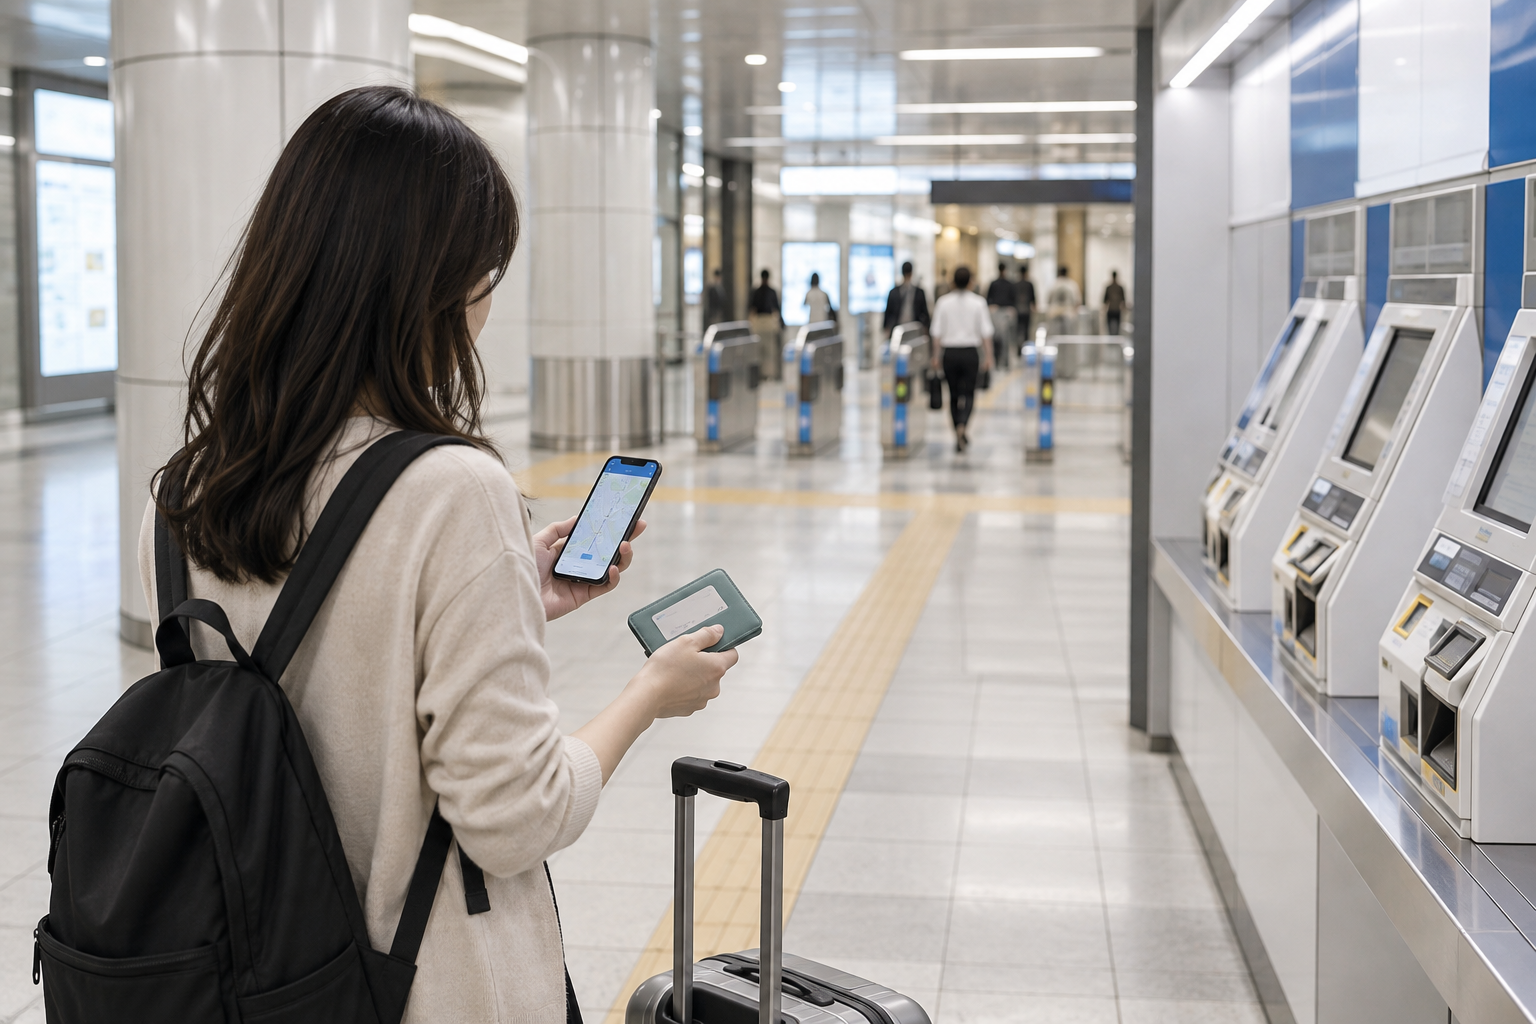
Tokyo transit payment depends on your route, the operator serving it, and which payment methods are currently accepted at the station. Before leaving for Tokyo Metro, check the exact route, compare regular tickets with an IC card such as PASMO, verify whether tap to ride covers your journey, and keep your destination details available separately from your phone.
At 7:40 on a rainy morning near Ueno, Mina held a folded accommodation confirmation, a nearly empty phone battery, and a bank card that had already failed once at a shop. She had planned to reach a language-school orientation across Tokyo by following a route saved in a messaging app. The problem was that the route assumed a payment method she had not checked.
The station entrance was busy. A family stood ahead of her at the ticket machine, and an attendant was answering questions from another visitor. Mina had enough time to make the journey if the first payment option worked. If it did not, she could miss the orientation and arrive in a new city without a working plan for getting back to her accommodation.
She opened the route again, but the station name appeared in a format she did not recognize. Her phone was connected to a temporary eSIM, and the signal was weak underground. The useful question was no longer, “Which payment method is best?” It was, “What can I use for this exact route, at this station, right now?”
Start with the actual route and operator
Tokyo’s transport network can involve different operators, lines, stations, and transfer arrangements. A route that looks like one journey on a map may involve more than one operator or require you to check separate payment conditions. Start with the destination, the station you intend to enter, the station where you will leave, and the operator responsible for the relevant part of the trip.
Tokyo Metro’s official guidance provides information for passengers before boarding, including preparation for using the subway and checking journey details. Use that information alongside the current ticket information for your planned route. If your route planner suggests a train or transfer that does not match the signs at the station, pause before passing through a gate.
Write down the route in a form you can read without relying on a live connection:
- The departure station.
- The arrival station.
- Any transfer station.
- The operator or operators involved.
- The name and address of your accommodation.
- A local-language version of the destination if available.
This preparation matters when a phone loses battery, a station name appears differently in English and Japanese, or the route changes after you enter the network. Keep the address separately accessible in a note, screenshot, or paper copy. A route screenshot alone may not give an attendant enough information to help you find the correct exit or confirm that you are at the right station.
Mina compared the route she had saved with the station information available before the gates. She noticed that the journey involved a transfer and that the route planner’s payment assumption was not the same as a confirmed ticket purchase. The distinction gave her a safer next step: check the available ticket path at the station before committing to the gates.
Check regular-ticket options at the station
Tokyo Metro provides regular ticket information through its official ticket guidance. A regular ticket can be useful when you are making a single journey, when you have not yet arranged an IC card, or when you want to keep payment separate from a newly issued bank card.
At the station, check the ticket machine and the signs around the entrance. Confirm the destination and fare information shown for the journey you intend to make. The available choices can depend on the operator and route, so do not assume that a ticket purchased for one part of a journey covers every later transfer.
If the machine or signs are unclear, ask an attendant before buying. Show the destination in writing rather than trying to pronounce an unfamiliar station name under pressure. You can say that you want to travel to the destination written on your phone or paper note, then ask which ticket is appropriate.
A regular ticket gives you a clear transaction to check before boarding. Look at the destination, the operator, and any instructions printed or displayed with the ticket. Keep the ticket until you have completed the journey and left the station. If the route changes or you need assistance, the ticket and your written destination can help the attendant understand what happened.
Avoid choosing a ticket based only on a familiar station name. Tokyo can have stations with similar names, connected stations that operate differently, and exits that place you far from the street you expected. The station name should match your actual destination, not merely the general district.
A regular ticket may also be the practical choice when you are travelling with someone who has a different payment method. Each person should know what they need to do at the gates, especially if one traveller is using a paper ticket and another is using an IC card. Do not hand your ticket to someone else or assume that one person’s successful entry confirms that every passenger can use the same method.
If a machine does not accept your preferred payment method, look for the supported options shown on the machine or ask an attendant. A failed card transaction does not prove that the station has no other way to sell the ticket. It only tells you that this particular payment attempt did not work.
Use IC cards only within their live terms
Tokyo Metro’s official PASMO information explains the role of PASMO as an IC card for transport and related payments. IC cards can make repeated travel simpler, but you should check the current terms and availability before treating one as your only plan.
The practical preparation is straightforward. Confirm whether you already have a usable card, whether it has enough balance, and whether the journey you intend to make can be completed with that card under the current rules. If you are using a mobile wallet, check that the phone has power and that you know how the card will be accessed at the gate. A digital card that cannot be reached because the phone is dead is not a dependable backup.
Keep a second payment route available. That might mean carrying a bank card, keeping enough cash for a regular ticket, or knowing where to ask for assistance. The right backup depends on what is available to you and what the station supports. The key is to decide before the gate, while you can still compare options calmly.
Do not assume that an IC card removes every route question. It may help you enter and exit accepted areas, but it does not replace checking the operator, the transfer, or the destination. You still need to know where you are going and what to do if the live route differs from the one you planned.
Mina had a card in her wallet, but she had not checked whether it was an active transport card or simply a bank card. That small distinction mattered. She had also saved her accommodation address only inside the route app. If the phone failed, she would have had a payment question and a location question at the same time.
She separated the two tasks. First, she checked the available payment method for the route. Then she copied the accommodation name and address into a note that she could open without searching through the route. The plan became less elegant, but more usable.
Check Tap to Ride coverage before relying on it
Tokyo Metro has published information about the expansion of Tap to Ride, but coverage and conditions can change. Treat tap to ride as a route-specific option that must be checked before your journey, rather than as a universal replacement for a ticket or IC card.
Confirm three points:
- Whether the station and route you intend to use support the service.
- Which contactless payment method is accepted.
- What you need to do at entry, transfer, and exit.
Use the official Tokyo Metro information for the current scope of the service. If another operator appears in your route, check that operator separately. A route may cross from one network to another, and the same payment assumption may not apply to every segment.
Pay attention to the physical card or device you use. If you tap a bank card or phone at entry, use the same card or device at exit unless the operator’s instructions say otherwise. Keep separate cards from different travellers. This helps avoid mixing transactions and makes it easier to explain a problem if the gate does not open.
Do not rely on a screenshot or a social-media post that says tap to ride works “in Tokyo” without checking the current official coverage. “Tokyo” describes a large transport area, not one single operator or payment system. The route, station, and service conditions determine what you can use.
If the gate rejects the tap, stop and ask an attendant. Do not keep trying several cards without tracking which one you used. Show the attendant your destination and explain the payment method you attempted. If you have already entered and the route has become unclear, ask before transferring or exiting through another gate.
This is also where route information should remain separate from payment information. A payment method can work while the route is wrong. A correct route can remain usable even when one card fails. Keeping the two checks distinct prevents one failed tap from turning into a much larger travel problem.
Keep destination and accommodation details separately available
Tokyo transit preparation works best when you treat payment, navigation, and accommodation as three related tasks instead of one phone screen.
Your payment plan answers, “How will I enter and leave the transport system?” Your route plan answers, “Which stations and transfers do I need?” Your accommodation record answers, “Where do I go after I leave the station?” If one fails, the others should still be available.
Save the accommodation name and full address in more than one place. A paper note can be useful when your phone battery is low. A screenshot can help when the network is slow. A text note with the original address can help an attendant or taxi driver read the details accurately. If you have a host, school, employer, or residence contact, keep that contact available too.
Use the same approach for a meeting point. “Near the station” may be too vague in a crowded district. Record the building name, street address, entrance, or other detail supplied by the accommodation or organiser. Do not guess the final walking route from memory when you are tired or carrying luggage.
Mina reached the correct station area, but the first exit placed her on a different side of the surrounding streets than she expected. Her saved accommodation address gave her something concrete to show an attendant. She did not need to explain the entire route. She could point to the destination and ask for the right direction.
Later that day, she added the transport check and accommodation check to the same relocation list she was using for her first week. That list included practical tasks such as keeping document information accessible, checking residence-card steps, and recording which local details still needed confirmation. For a newcomer, small records reduce the number of decisions required when the city is busy.
If your move also involves receiving a residence card, keep transport preparation separate from immigration administration while linking both to your arrival plan. Aqee’s guide to Japan residence card arrival and the first card and address steps covers a different part of the first days. The principle is similar: identify the exact task, keep the relevant information available, and confirm the current instruction with the responsible source.
What to do next
Before your Tokyo Metro journey, open the official Tokyo Metro pages for before-boarding guidance, PASMO, tickets, and Tap to Ride. Check them against your actual route and the operator or operators involved. Then prepare a short offline record containing:
- Your intended departure and arrival stations.
- Any transfer information.
- The payment method you plan to try first.
- The backup payment method you can use.
- Your accommodation name and address.
- A sentence you can show an attendant if the route or payment fails.
If the current station signs differ from your saved route, follow the live station information and ask an attendant. If a card is declined, switch to the next confirmed option instead of repeatedly presenting the same card. If tap to ride appears available, verify that it applies to your route before making it your only plan.
Create an Aqee local-settlement checklist. Put the Tokyo transport check beside the other Day 0 tasks that become easier when they are written down: accommodation details, document follow-ups, local contacts, and the first practical route through the city. You can also compare the same preparation pattern with this guide to Tokyo residence card updates and the records that may need checking after renewal.
Mina’s first journey ended with a regular payment option, a readable address, and enough battery left to reach the orientation. The useful win was smaller than mastering Tokyo’s entire network. She had separated the decisions that could fail, checked each one at the right place, and kept a human backup available when the screen stopped being helpful.
Sources
- Tokyo Metro, before getting on the subway, checked 2026-09-24.
- Tokyo Metro, PASMO, checked 2026-09-24.
- Tokyo Metro, tickets, checked 2026-09-24.
- Tokyo Metro, Tap to Ride expansion, checked 2026-09-24.
Related Aqee guide
Keep the practical follow-up in your wider move plan with Aqee’s Japan residence-card arrival guide.


