
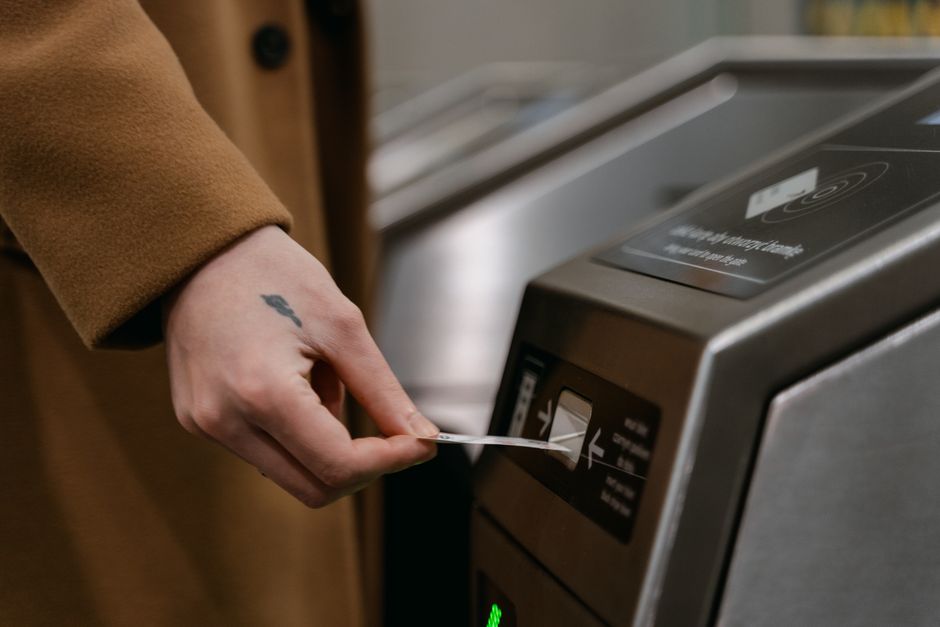
London pay as you go works through Transport for London’s accepted contactless and Oyster payment methods on eligible TfL services, with fares and caps depending on the journey and the transport mode involved. To plan confidently, identify the London route you need, use one eligible card or device consistently, touch according to the mode, and check the current fare finder before you travel.
At 7:42 on a wet Tuesday morning, Marta stood outside a station in South London with a phone in one hand and a bank card in the other. She had arrived in the UK recently, and her first week of commuting had already produced two different-looking charges. A colleague had told her to “just use Oyster,” a flatmate said contactless was easier, and an online post described zones, penalties and the congestion charge as though the same rules covered every trip in the country.
Marta had a meeting across London that morning. If she missed the first appointment, she could lose the room she was viewing later that day. The problem was not simply finding a route. She needed to know how to pay for the journey without mixing cards, missing a required touch, or relying on a fare assumption that belonged to a different service.
The useful starting point is narrower: London pay as you go through TfL.
Limit the guide to London pay as you go
London transport advice often becomes confusing because several subjects get bundled together. Oyster, contactless payment, fare zones, fare caps, penalty fares, congestion charging and travel outside London can appear in the same conversation. They do not automatically describe the same journey or the same payment rule.
For this guide, keep the scope to pay-as-you-go travel on eligible Transport for London services. TfL’s official guidance explains the available payment methods and how pay-as-you-go works. Its separate fare guidance explains how to make sure the correct fare is recorded, while the Single Fare Finder helps you check a specific journey.
That scope matters when you are new to London. A general UK travel article may mention national rail, local operators, airport services or road charges that have different conditions. An old forum post may describe a fare cap from a previous period. A friend may remember a route that used a different operator or payment method. Those details can be useful background, but they should not replace checking the TfL information for the journey you are actually taking.
Start with three questions:
- Which London transport modes will you use?
- Which stations or stops begin and end the journey?
- Are you paying with Oyster, a contactless bank card, or a contactless device?
The answer to the third question should be settled before you enter the station. The most common avoidable problem is changing payment methods halfway through a journey. For example, you might touch in with a physical bank card, then touch out with a phone wallet that contains the same account. To the reader, those may be different payment methods. Your intention does not make them one journey record.
If your journey includes a service or destination outside the TfL pay-as-you-go rules, check the responsible operator or official travel information as well. Do not assume that a London rule applies across the whole country. The same caution applies to airport travel, intercity rail and any part of a route where the operator or payment arrangement changes.
Marta had been treating “London transport” as one large system with one universal rule. Once she narrowed the question to the TfL journey in front of her, the research became more manageable. She could check the payment method, the required touches and the fare for that particular route instead of trying to memorise every London travel rule.
Choose one card or device for the journey
TfL’s pay-as-you-go guidance covers accepted ways to pay, including contactless payment and Oyster where applicable. Your practical job is to choose the method you will use from start to finish.
A physical contactless card can be easy to recognise and keep separate from other cards. A phone or wearable device can also be convenient, but make sure you know which payment card it will present when you touch. If you use a wallet case containing several cards, remove the intended card before touching. A reader may not know which card you meant to use.
The same principle applies to Oyster. If you begin with an Oyster card, use that Oyster card for the relevant journey. If you begin with a contactless card, continue with that card. Do not switch because another option happens to be closer to your hand at the exit.
Keep the following details in mind before you leave:
- Carry the exact card or device you used to touch in.
- Keep it accessible until the journey is complete.
- Avoid presenting several contactless cards or devices together.
- If you use a phone or wearable, check that it has power and that the intended wallet card is available.
- Do not assume that a physical card and the same card inside a digital wallet will be treated as one payment method.
This is a small habit with a large practical benefit. It reduces the chance of a journey being recorded as incomplete and makes later fare checking much easier. If you need to investigate an unexpected charge, you will know which payment method to review.
It also protects you from a common relocation mistake: copying advice without copying the conditions. Someone who has always used one Oyster card may give you advice that fits their routine. Someone who uses a phone may forget that their phone and physical card can appear separately to the payment system. Their experience may be genuine, but your payment method still needs its own check.
If you are travelling with another person, each person should use their own eligible card, device or Oyster card according to the applicable TfL rules. Do not pass one payment card between people and assume that it will represent separate travellers correctly.
Before Marta left the station, she placed the card she intended to use in an outer pocket of her bag and kept her phone separate. That choice felt almost too simple to matter. It gave her one clear record to follow and removed the temptation to improvise at the next gate.
Touch in and out according to the mode
The touch you need depends on the type of TfL journey. The safest approach is to follow the barriers, validators and instructions for the mode you are using, rather than memorising a single London-wide pattern.
For journeys where the system requires a touch in and a touch out, use the same card or device at both points. Wait for the reader to confirm the touch, and do not assume that walking through a barrier means the payment was accepted. If a gate does not open or the reader displays an unexpected message, pause and follow the official instructions available at the station.
Some journeys involve different boarding and exit arrangements. Bus and tram travel, for example, should be checked against TfL’s current pay-as-you-go instructions instead of being treated like a gated rail journey. The important habit is to touch where the mode requires it, with the payment method you selected.
If you change modes, pay attention to what happens at each stage. A journey involving rail, Underground, bus, tram or another eligible TfL service may have different touch requirements at different points. Do not invent a missing touch because you touched successfully earlier. Do not add a touch where the instructions for that mode do not require one.
Touching correctly also means allowing the system to read one payment method clearly. Avoid tapping your wallet, phone and watch together. Keep your chosen card or device still against the reader until it responds. In a crowded station, this may take an extra second, but it is easier than trying to reconstruct what happened after a charge appears.
The official TfL guidance on paying the right fare is the place to check if you are unsure about a specific journey pattern. It can help you understand what to do when a journey involves different modes, an incomplete touch or a payment issue. Use that guidance before travelling when possible, especially during your first week in London.
Marta reached the first barrier with the queue moving quickly behind her. She touched with the card from her outer pocket, waited for the confirmation and put it away again. Later, at the point where her journey required another touch, she used the same card. The meeting was still close enough to make her hurry, but the fare question was no longer competing with route-finding, unfamiliar streets and a new city.
Check the specific route and fare before travelling
A route can look obvious on a map and still deserve a fare check. The transport modes, stations, direction and payment method all affect what you should expect. TfL’s Single Fare Finder exists for this kind of question. Use it with the journey details rather than relying on a generic estimate from a search result or a friend.
Check the route before you travel when:
- You are combining more than one transport mode.
- You are using an airport or an unfamiliar station.
- You are travelling outside your usual area.
- You have heard conflicting advice about zones or caps.
- You received a charge that does not match your expectation.
- You are deciding between Oyster and contactless.
- You are travelling at a time when service arrangements may differ.
The fare finder is especially useful because it keeps the question concrete. Instead of asking, “How much does London transport cost?” ask, “What fare applies to this journey between these points using this service?” That is a question with a better chance of producing a useful answer.
Treat fare caps carefully. A cap is not a promise that every journey will cost the same amount, and it should not be used as a substitute for checking the journey itself. TfL’s pay-as-you-go information explains the scope of its caps and payment arrangements. Read the current guidance rather than relying on a screenshot, a blog post or advice from a previous visit.
The same discipline applies to penalties and unexpected charges. If a journey has been recorded incorrectly, do not assume the cause from the amount alone. The problem could involve the payment method, a missing touch, the route taken, or a rule that does not apply to the service you used. Check the official fare guidance and the journey record available through the relevant TfL process.
A useful pre-travel routine takes only a few minutes:
- Write down the stations or stops you expect to use.
- Identify the transport modes involved.
- Choose one payment card, device or Oyster card.
- Check the route in TfL’s Single Fare Finder.
- Read the relevant pay-as-you-go guidance if the journey has an unusual feature.
- Leave with enough battery, access to the chosen card and a way to review the charge later.
This routine is valuable beyond London. When you arrive in a new country, transport is one of the first systems you must use before you fully understand it. Building a local-settlement checklist can help you keep fare research alongside other arrival tasks, such as registration, documents, banking and finding your way home after dark.
Handle an unexpected charge through the official route
If the amount or journey record surprises you, begin with the official TfL information and the payment method you used. Check whether the journey was completed with the same card or device, whether the mode required a touch at each stage, and whether the route matched the journey you checked beforehand.
Do not post your full card details in a public forum while asking for help. Keep payment information private, and use TfL’s official support or fare-checking route for the next step. If the charge relates to a contactless card or device, have the relevant journey date and payment method available without sharing sensitive information publicly.
The purpose of checking is not to prove that the system made a mistake or that you made one. It is to identify what the record shows and use the correct correction or enquiry process. A calm review is more useful than trying a different card on the next journey without understanding the first charge.
Marta checked her first day after the meeting. One charge was clear. Another needed closer attention because she had used a different device on a later trip. The distinction explained why her memory of “using the same account” did not produce the same payment record. She changed her routine, kept one device for her regular journeys and used the official fare information whenever a route fell outside that routine.
That is the practical win. You do not need to become a London transport expert before your first journey. You need a repeatable way to identify the service, choose one payment method, touch correctly and verify the fare.
What to do next
Create an Aqee local-settlement checklist before you travel. Add the London journey you expect to make, the stations or stops involved, the transport modes, the card or device you will use and the TfL fare page you checked.
Save the official links where you can reach them quickly:
The most useful plan is the one you can follow while carrying luggage, watching the station signs and trying to reach your destination on time. For London pay as you go, that plan begins with one route, one payment method and one checked source.
Sources
- Transport for London, pay as you go, checked 2026-09-24.
- Transport for London, how to pay the right fare, checked 2026-09-24.
- Transport for London, pay-as-you-go caps and scope, checked 2026-09-24.
- Transport for London, single fare finder, checked 2026-09-24.
Related Aqee guide
Keep the practical follow-up in your wider move plan with Aqee’s first-72-hours UK essentials guide.


