
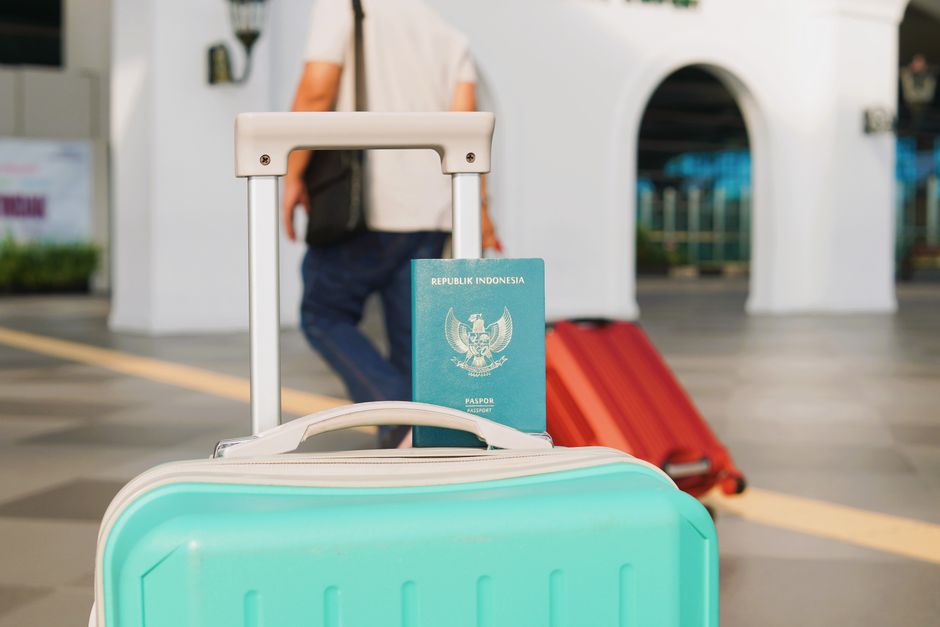
A Canada pre-arrival folder for Vancouver should keep essential travel and immigration documents separate from personal planning records and local follow-up questions. Keep the documents you may need at the border accessible during travel, then use official Canadian pre-arrival and settlement services to confirm what applies to your route.
At 6:40 in the morning, Lina was standing beside a departure gate with one hand on her passport and the other inside a folder that had grown too thick to close. Her Vancouver address was written on a sticky note. A rental listing, a university email, bank statements, vaccination records and screenshots of messages from a future roommate were mixed together with her travel documents. She had already opened the wrong file twice while trying to find her immigration document.
The flight was boarding. If Lina could not quickly produce the document connected to her admission to Canada, she might have to explain the situation at the counter, miss boarding, or discover that an important paper was still in checked luggage. Her plan for reaching Vancouver that day was suddenly less certain than it had felt the night before.
The folder had not failed because Lina lacked information. It had failed because every kind of information had been stored in the same place.
Separate essential travel documents from planning records
Begin with separation. Your essential travel and immigration documents belong in a small, reachable set that stays with you while travelling. Personal planning records belong in a second section, digital folder or separate envelope. Questions for after arrival belong somewhere else again.
This structure matters because each group serves a different moment.
Your travel set supports the journey and border conversation. It may include your passport and the documents connected to your authorization to enter Canada. The exact documents that apply depend on your immigration route and personal circumstances, so confirm the requirements through the responsible Canadian authority before you travel. IRCC’s guidance on crossing the border explains what newcomers should prepare and what may happen when they arrive. Read the official instructions for your situation rather than relying on a general checklist copied from another traveller.
Your planning records help you make decisions before and after landing. They might include accommodation details, an emergency contact, proof of insurance if relevant to your own plans, education or employment records, and a short list of tasks you want to handle in Vancouver. These records can be useful without needing to be presented at the border.
Your local questions are a third category. You may want to ask about settlement support, language classes, employment services, credential recognition, healthcare access, housing, banking, transportation or community resources. Those questions deserve a clear home, but they should not be allowed to bury the documents you may need during travel.
A simple folder can have three labels:
- Travel and border documents
- Personal planning records
- Vancouver questions and follow-up
Use the same labels in your cloud storage. If your phone is lost, your laptop battery is empty or a file will not open, you still want a second way to reach the essentials. Keep secure digital copies where appropriate, but do not treat a screenshot as a substitute for an original document when an authority requires the original.
The practical test is easy: imagine you are asked for one important travel document while standing in a queue. Can you reach it without searching through accommodation messages, photographs and notes? If the answer is no, the folder needs another pass.
Build a route-aware pre-arrival folder
A useful Canada folder follows your route into the country. It does not assume that every student, worker, family member, permanent resident or other newcomer has the same document set or the same next steps.
Start by identifying your own route in plain language. Are you travelling to begin studies, take up work, join family, settle as a permanent resident or enter under another status? Your answer determines which official guidance you need to read closely. It also affects the questions you should take to an authorized source.
Create a first page called “My route.” Keep it short:
- Your reason for travelling to Canada
- Your destination, Vancouver
- The document or approval connected to your travel
- The institution, employer, family contact or other relevant connection
- The questions you still need answered
- The official source you will check before departure
This page is for orientation. It is not a replacement for the documents themselves.
Next, create an inventory. Write the document name, whether you have the original, where the secure copy is stored and whether you need to confirm anything with IRCC or another responsible organization. Avoid guessing at requirements. Mark uncertain items with a question rather than turning an assumption into a rule.
A route-aware folder might contain sections such as:
- Identity and travel
- Immigration and entry documents
- Accommodation and arrival arrangements
- Personal records
- Education or employment records
- Vancouver settlement questions
- Official sources checked
The contents will vary. A person moving for study may have questions about their institution, arrival arrangements and future services. A worker may need to organize employment-related records and understand which local support is relevant. A family may need to coordinate documents for more than one traveller. The folder should reflect the route you are actually taking.
IRCC’s pre-arrival services page explains that eligible newcomers may be able to access services before arriving in Canada. These services can provide information and support related to settling, employment, language learning and other parts of preparing for life in Canada. Eligibility and available services depend on the person’s circumstances. Check the current official guidance before relying on any service.
That pre-arrival step can improve the quality of your folder. Instead of collecting every document or web page you encounter, use official information to identify the questions that matter for your route. Add the question, the source you checked and the next action you need to take.
For example, your note might say:
“I need to confirm which settlement services are available to me before arrival, and whether I can contact a provider from outside Canada.”
That is more useful than saving ten unrelated links under a heading called “Canada information.”
You can also create a “before I fly” page with three columns:
- Confirmed
- Need to verify
- After arrival
Place only information you can support in the first column. Put uncertain claims in the second. Move local tasks that cannot be completed before travel into the third. This prevents a common mistake: treating a plan as if it were an official requirement.
Lina’s folder changed when she stopped treating every paper as equally urgent. Her travel documents went into a slim section at the front. Her Vancouver rental research moved behind a planning tab. Her questions about local services became a short list linked to official sources. She could still carry the same information, but she no longer had to search through all of it at once.
Keep border documents accessible
The border section should be easy to reach throughout the journey. Keep it with you rather than in checked luggage, and make sure you know what each document is before you leave.
IRCC’s border-crossing guidance explains that newcomers should be prepared to present relevant documents when they arrive. The exact documents depend on the person’s circumstances and immigration route. Review the current official page and any route-specific instructions that apply to you.
Do not build this section around a social media post, a friend’s old experience or a generic list written for another country. Canada’s entry process has its own official instructions. A checklist can remind you what to verify, but it cannot decide which requirements apply.
Place the most important travel documents where you can reach them without opening your entire bag. A physical folder may work well for some people. A protective sleeve, a small document wallet or another secure arrangement may suit others. The format matters less than the access test.
Before leaving for the airport, practise finding:
- Your passport
- The document connected to your authorization or purpose of travel
- Any arrival or admission document you have been instructed to carry
- Your accommodation and contact details
- Your emergency contact information
- Secure copies of key records
Do not carry more personal data than you need in an exposed or unprotected format. Sensitive records should be stored carefully, and digital copies should be protected with the security measures available on your devices and accounts.
Make the first page of the travel section a contents page. For each item, write a plain description rather than an internal file name. “Document connected to my Canadian entry” is easier to recognize under pressure than “scan_final_approved_2.pdf.”
A contents page also helps you notice gaps. If you have a page labelled “passport” but no clear entry document, stop and verify what is missing. If your route has changed, review the folder again. A document set prepared for one purpose may not match a later change in study, work, family or travel plans.
The folder should also support a calm conversation. You may be tired, nervous or unfamiliar with the process. Clear organization reduces the chance that you will hand over unrelated records or overlook a document while searching. It also makes it easier to explain what you are carrying and why.
This is where source-led preparation protects you. IRCC’s Welcome to Canada guide and border-crossing information provide official preparation guidance for newcomers. Use those sources to review your own folder, and check the latest instructions before travel because immigration information can change.
The goal is readiness, not certainty about every possible question. You cannot predict every conversation at the border. You can make your essential documents identifiable, accessible and connected to your actual route.
Turn the folder into a Vancouver follow-up plan
Landing in Vancouver is the beginning of a new set of questions. The folder should help you move from travel preparation into local settlement without mixing those two moments together.
Create a page called “After arrival in Vancouver.” Divide it into immediate, early and later questions. Do not assign official deadlines unless a responsible authority has given you one. Use the categories to decide what to investigate first.
Immediate questions might include:
- Where will I stay on my first night?
- Who should I contact if my arrival plan changes?
- Which personal records will I need to access soon?
- What should I confirm with my school, employer, family contact or settlement provider?
- Which official Canadian page should I revisit after I arrive?
Early questions could cover local services, banking, healthcare, housing, work preparation, education support, language learning, community connections and transportation. The right questions depend on your situation. Write them as questions instead of assuming that a service is available, free, required or suitable for you.
Later questions may include longer-term settlement, professional plans, community activities and document renewals. Keeping them in a later section protects your attention during the first days.
IRCC’s settlement page provides information about settling in Canada and directs newcomers toward relevant resources. IRCC also provides pre-arrival information for eligible people before they travel. These official channels can help you identify appropriate support, but they do not remove the need to confirm your own eligibility or circumstances.
A local-settlement checklist can connect the folder to action. For each question, record:
- What I need to find out
- Which official source or service can answer it
- What information I should have ready
- The next action after I receive an answer
This approach prevents the folder from becoming a storage box. It becomes a working plan that tells you what to do with the information you collect.
Lina reached Vancouver with her border documents still in the front section. Two days later, she opened the second section and found the questions she had written before leaving: whom to contact about settlement support, which records to keep available for her studies, and which local tasks could wait. She did not have every answer. She had a reliable way to find the next one.
That is the useful handoff. The travel section gets you through the journey. The planning section helps you orient yourself. The local questions give you a controlled way to continue, without turning every unknown into an emergency.
If you want a more detailed offline structure, use the Canada pre-arrival checklist for building a Vancouver arrival folder. If you are preparing a goods list for Canada, keep that work separate from your essential travel documents and review the related Canada goods to follow preparation guide.
What to do next
Set aside one short session to create your three sections:
- Travel and border documents
- Personal planning records
- Vancouver questions and follow-up
Read the current IRCC pages for pre-arrival services, border crossing and settling in Canada. Then compare your folder with your actual route. Move anything that could be needed during travel into the accessible section. Move general research out of it. Mark uncertain requirements for verification instead of filling the gap with a guess.
Create an Aqee local-settlement checklist. Add one question you need answered before departure, one task for your arrival period and one official source you will check. Save the checklist beside your secure document copies, then review it again when your travel plans or immigration circumstances change.
Sources
- IRCC, pre-arrival services, checked 2026-09-24.
- IRCC, prepare to cross the border as a newcomer, checked 2026-09-24.
- IRCC, Welcome to Canada pre-arrival guide, checked 2026-09-24.
- IRCC, settling in Canada, checked 2026-09-24.
Related Aqee guide
Keep the practical follow-up in your wider move plan with Aqee’s immigration-paperwork guide.


